


Ever worried that your gear might not be ready for a hut trek? Even one missing item can make your day on the trail unsafe. We put together a simple safety checklist just for hut trails. In it, we cover must-haves like a first aid kit, water supplies, and repair tools to fix small problems along the way.
Follow this checklist to build your confidence before you set out. When every piece of your gear works together, you can fully enjoy the stunning views and peaceful moments away from everyday life.
Hut Trail Safety Checklist: Enjoy a Safe Hike
Before you set off, check your gear carefully. Make sure your first aid kit has everything it needs. Pack pain relievers (like ibuprofen), any antibiotics or personal medicines, adhesive bandages, and sterile gauze for cleaning wounds. Include triangular bandages for injury support, a cold compress for swelling, a digital thermometer, and supplies for snake or bee stings.
Next, check your water supply. Bring at least 2L of water (or plan on one liter per hour of hiking) in reusable, insulated bottles. For longer hikes, a Camelbak-style hydration pack keeps water cool and easy to sip.
Pack a lightweight space blanket or bivy sack for unexpected shelter needs. Sun protection is important too. Bring a hat, sunglasses, and sunscreen with SPF 30 or higher to guard against harmful UV rays even on cloudy days.
Also, pack basic repair tools to turn small problems into minor hassles. Make sure you have:
| Tool | Purpose |
|---|---|
| Multi-tool | Fix quick issues |
| Duct tape | Temporary repairs |
| Swiss Army knife | General trail fixes |
Finally, give your pack one last check to be sure every item is present and in good working order. This careful review will keep you safe and build your confidence every step of the way. Think of your checklist as a lifeline. Each item has a purpose so you can enjoy your hike knowing you’re well prepared.
Pre-Hike Planning & Trail Assessment for Hut Trail Safety Checklist
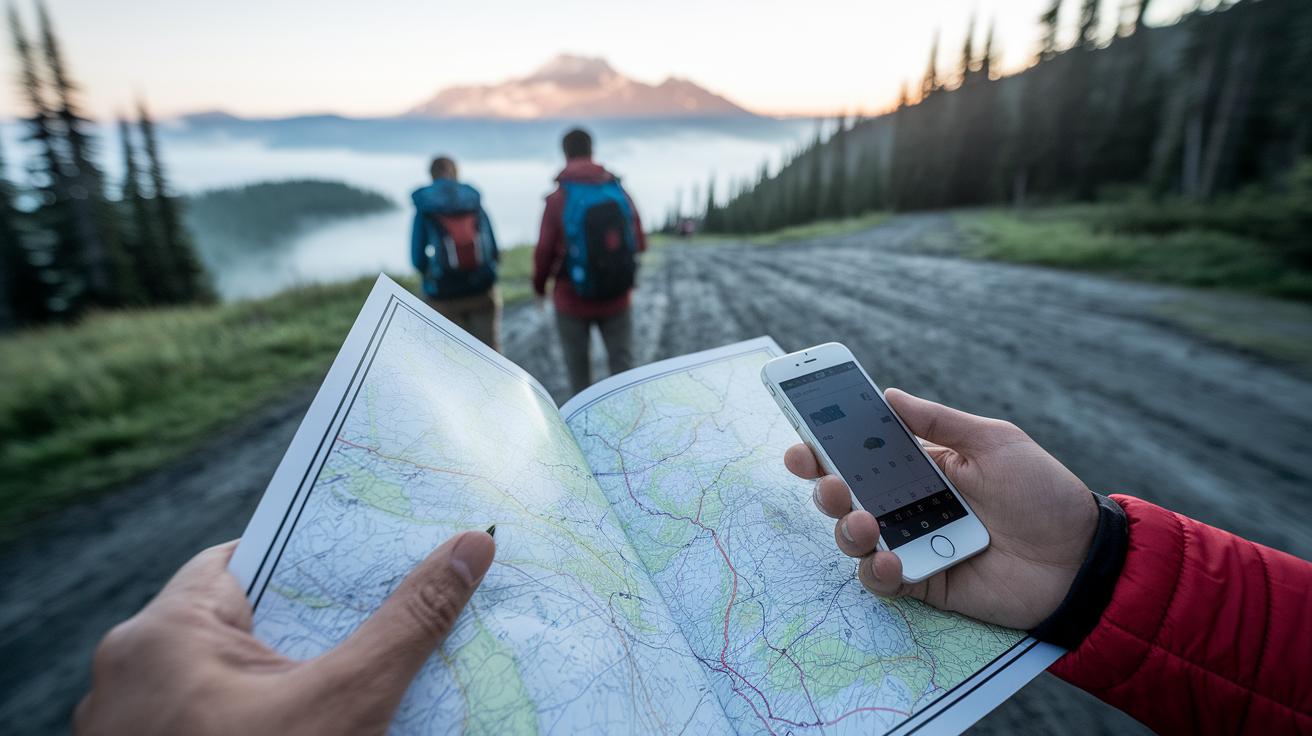
Before you head out, do some research. Check AllTrails or local forestry websites to learn the trail's length, the climb ahead (elevation gain), and current conditions. This information helps you pack right and know if the trail matches your skills.
Always review both 7-day and 48-hour weather forecasts before leaving. For example, three days before our hike, a rain forecast reminded us to pack extra waterproof layers. Watch for alerts about sudden storms or quick drops in temperature.
Make a backup travel plan. Map out alternative exit routes and detours in the hut network. Write down a few options, like:
- Main route with trail distance and climb
- Secondary path marked by key landmarks
- Emergency exit point with time estimates
Also, do an environmental check. Notice any wildlife activity or seasonal trail closures. These updates can be the difference between a safe hike and an unexpected detour. Keeping a "what-if" timeline builds confidence and lets you adjust quickly if conditions change.
Navigation & Communication Tools in Your Hut Trail Safety Checklist
Before you set off, check your paper map and compass. Practice by finding key features on the map and matching them with what you see on the trail. This quick run-through boosts your confidence and helps you catch any mistakes early. For example, try spotting a river bend or a distinctive rock to sharpen your skills.
Bring a GPS device with extra batteries and make sure you have a backup of your waypoints saved offline on your phone or printed out. Relying only on electronic devices can be risky when the battery runs low or the signal weakens.
Know your cell phone service areas. If you think the coverage will be poor, pack a satellite messenger like the Garmin inReach. It lets you send messages and alerts, even off the grid. A helpful tip: send a test message before you leave so you feel comfortable using it.
Pack a whistle and a signal mirror; these are simple but effective in an emergency. For instance, use your whistle to blast three short signals, a clear distress call everyone knows. Agree on regular check-in times with your group so everyone understands what to do if someone goes quiet on the trail.
Test all your devices and communication tools before starting out. This way, if there's ever a need, help is only a signal away.
Weather & Terrain Evaluation in Your Hut Trail Safety Checklist
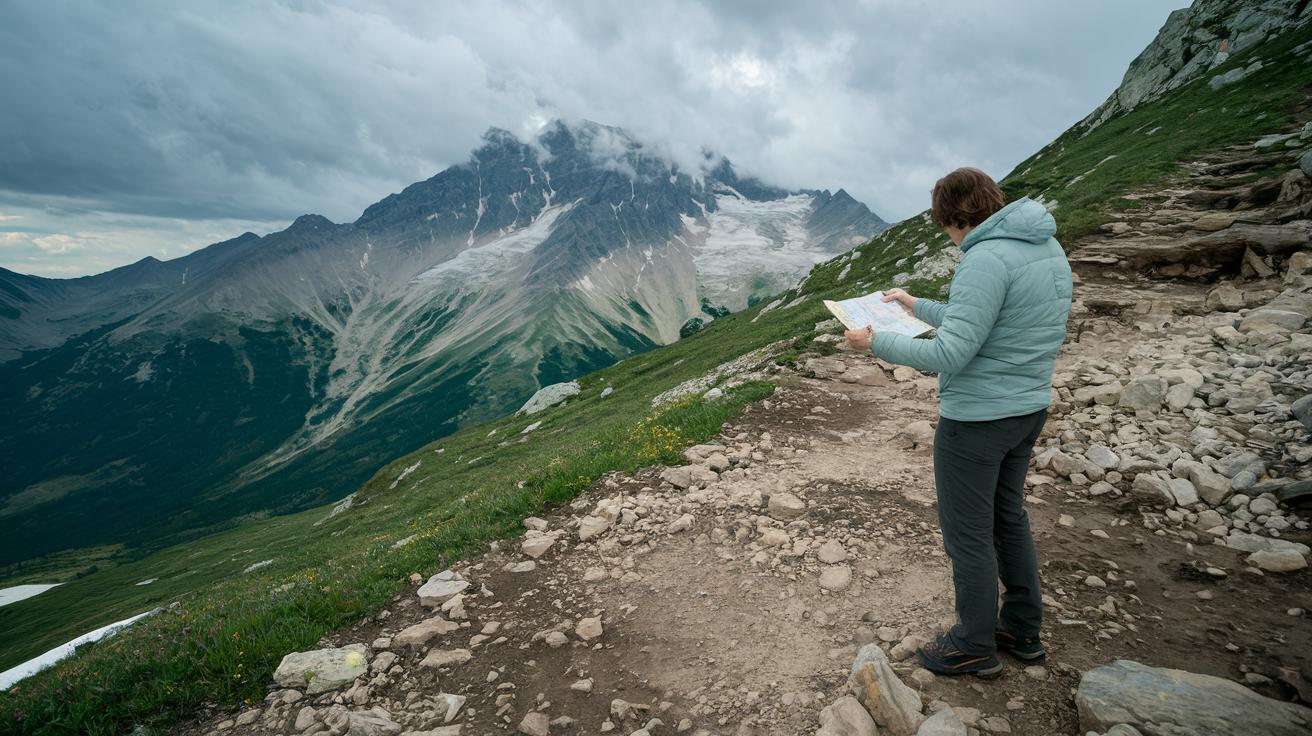
Keep an eye on the weather using your favorite app. At high altitudes, temperatures can drop fast. A sudden chill might catch you off guard if you don’t have extra layers.
Before you go further, take a walk around the trailhead. Look for shallow river crossings, loose gravel areas (scree fields), and muddy patches. This early check helps you spot rough or wet spots that may slow you down later.
Feel your way along the trail. Test your footing on wet rocks and notice any shaky surfaces. Remember spots with loose gravel or slick patches that could get worse if the weather changes. Sometimes, it's best to pause and consider an alternate route.
When you come across snow or loose shale, check the ground carefully. Use your trekking poles for extra balance and test each step before moving on. Stay alert and re-check conditions as you go; every part of the trail can bring new challenges.
Medical Kit Organization in Your Hut Trail Safety Checklist
Use clear, labeled pouches to pack your first-aid kit. Keep trauma items like triangular bandages and gauze in one pouch. Store your painkillers, antibiotics, and personal medications in another. For blister care, use a separate clear pouch for moleskin and adhesive pads. Label each pouch so you can see what’s inside at a glance.
If you have a risk of allergic reactions, pack emergency epinephrine as well. Also add a CPR mask, a small emergency blanket, and a self-inflating splint to help with shock or broken limbs.
Create a simple checklist for crisis situations. Practice a drill with your hiking partners: one person checks supplies, another watches first aid use, and a third leads a bite or sting response. This way, everyone knows what to do if an injury happens.
Before each trip, review your kit. Make sure every item works and replace anything that has been used. A well-organized kit helps you act quickly and safely when every minute counts.
Emergency Procedures & Rescue Signals in Your Hut Trail Safety Checklist

When you head out on the trail, it's vital to know what to do in an emergency. Always carry a loud whistle and a small reflective mirror. Practice blowing three short blasts on your whistle to signal distress. You can also use the mirror by flashing sunlight in a pattern that signals for help.
Before you set off, talk with your group about what to do if something goes wrong. Decide who will lead in an emergency, who will handle first aid, and agree on clear steps to leave the area safely. Make sure everyone knows where the printed emergency contacts are kept. This list should have the local mountain rescue team, the park ranger, and the hut warden. In a practice drill, choose someone to call emergency services on a cell phone first, and if there's no signal, use a satellite messenger instead.
Review your rescue plan before each trip. Make sure every group member understands the steps for calling help. It helps to write down what you did during a drill. Include details like what signal was used, the time of the call, and what actions everyone took. Practicing these steps on local trails can make a big difference when you really need them.
Group Coordination & Personal Preparedness in Your Hut Trail Safety Checklist
Set up a routine where one person checks on everyone’s pulse, hydration, and mood every hour. A quick check might just be asking, "How are we feeling?" For instance, one hiker might reply, "My pulse is steady, I'm well hydrated, and I feel alert."
Before you head out, write down a simple physical readiness report. Note your resting heart rate and list any recent exercises, like crunches, push-ups, or cycling. Think of it as a brief workout journal that helps you see if you’re fit for the trail.
Keep fatigue in check with some basic tips. Break the hike into small goals and plan for 10-minute breaks. As a group, discuss the pace and decide when to rest, much like checking in with each other during a progress update.
Do a quick survival skills review before you go. Practice tying knots, setting up a basic shelter (a simple cover against wind and rain), and even a short water purification demo. These drills boost confidence and ensure everyone is ready if unexpected challenges come your way.
Hut Inspection & Shelter Risk Management in Your Hut Trail Safety Checklist

Before you settle in, take a careful look around the hut. Walk around and check the roof for leaks, tap the walls, and press the floor to be sure it’s stable. Make sure doors and windows are secure and show no cracks or damage. These simple checks help you spot any issues early.
Also, inspect the sleeping platforms to be sure they are dry and free of rodents. A clean sleeping area makes your stay both safer and more comfortable.
Test the water source too. Whether you filter the tap water or check a nearby stream for clear flow, this step is essential to confirm that the water is safe to use.
Finally, check the fire safety measures. Ensure the stove works and that there is good ventilation. Verify that an emergency fire plan is in place just in case.
Don’t forget to note any hazards or problems on the hut condition audit form for the next group. This record helps everyone keep the hut safe and well maintained over time.
Final Words
In the action, we lined out the key points of our hut trail safety checklist. We touched on pre-hike planning, navigation and communication gear, and ways to check weather and terrain. We also broke down how to organize your first-aid kit, signal for help, and inspect huts for a secure stay. Each step helps you stay prepared, confident, and safe on the trail. With your checklist set, head out knowing you’ve got a solid plan for a memorable hut-to-hut hike.
FAQ
Hut trail safety checklist pdf
The hut trail safety checklist pdf provides a ready-to-use guide outlining emergency gear, first-aid supplies, and navigation tools you need to verify before setting off on a hut-to-hut hike.
Hut-to-hut packing list
The hut-to-hut packing list details the must-have items such as layered clothing, a first-aid kit, hydration gear, snacks, and essential navigation tools, making sure your trip remains safe and comfortable.
Best backpack for hut-to-hut hiking
The best backpack for hut-to-hut hiking features a lightweight design, ample room for essentials, and smart ergonomics to keep you comfortable and organized during long, multi-day trails.
Alps hut to hut packing list
The Alps hut to hut packing list includes gear for alpine weather like warm layers, sturdy boots, and emergency supplies, ensuring you are well prepared for the high-altitude conditions of the region.
Hut to hut hiking Switzerland
Hut to hut hiking in Switzerland offers well-marked trails and charming alpine lodges while requiring careful planning; pack essential gear, check weather forecasts, and follow local guidelines for a secure trek.
10 Essentials hiking
The 10 essentials for hiking involve basic items such as navigation tools, sun protection, insulation, a reliable light source, a first-aid kit, fire starting tools, a repair kit, extra food, hydration, and an emergency shelter.
Slovenia hut to hut packing list
The Slovenia hut to hut packing list prepares you with weather-appropriate clothing, sturdy footwear, navigation aids, first-aid supplies, and cooking necessities, ensuring you are ready for varied terrain and changing conditions.
Hut to hut hiking Dolomites
Hut to hut hiking in the Dolomites demands a robust packing strategy with layered clothing, proven navigation tools, a first-aid kit, and local weather checks, so you can safely explore these stunning and challenging peaks.