

Have you thought about whether your hut-to-hut trip is safe? Before you head into the mountains, check your gear, weather forecast, and trail risks. This guide shares clear steps from local hut clubs and experienced mountain guides so nothing surprises you along the way. With a careful look at your equipment and plan, you can focus on enjoying the outdoors with confidence on every slope.
hut-to-hut safety checklist: Embrace Outdoor Joy
Before you head out, make sure you have a solid plan. Check trusted weather sites every morning and afternoon to avoid sudden storms in mountain areas like the Dolomites or Canadian Rockies. Write down local emergency numbers (for example, 140 in Austria) and test your Personal Locator Beacon (like the Garmin InReach Mini 2) so you know it works. Pack a fully charged smartphone loaded with offline topo maps, a headlamp for dark hours, and a small powerbank with built-in cables.
Next, assess your route risks. Look over your planned stage of about 10–15 km with a climb of 500–800 m and allow extra time for breaks or weather delays. Note any changes in the route and be sure your plan meets local guidelines from hut clubs or alpine groups.
Then, check your survival kit and first aid supplies. Confirm you have:
- A small first aid kit with bandages and any needed medicines
- A headlamp with spare batteries
- Electrolyte tablets to add to each liter of water, along with a Hydrapak water bladder
- Printed backup maps as well as digital maps on your smartphone
Test your navigation tools by comparing your compass (kept in a waterproof sleeve) with your paper maps. It’s a good idea to double-check your bearings at every junction to stay on track.
Plan your hydration and meals ahead of time. Pack easy snacks and plan stops at huts for meals. Bring extra non-perishable food to keep your energy up on long days. Finally, at every hut, review and sign off on the safety checklist in the guestbook. This helps you track your progress and keep safety as your top priority throughout the trek.
Essential Gear Inspection on Your Hut-to-Hut Safety Checklist

Before you set out, give your gear a good check. Start with your clothing. Pack two quick-dry t-shirts, three pairs of Merino wool underwear, a Patagonia down jacket to keep you warm on cool evenings, a waterproof rain shell (like GoreTex) for sudden showers, lightweight gloves, and a cozy beanie. Try sprinkling a little water on your shell to make sure it beads up.
Next, look at your footwear. Choose well-fitting fast-hiking boots (think Scarpa or Mammut) and pack three pairs of Merino socks to prevent blisters. Don’t forget a pair of slide sandals for easy comfort in showers and around the huts.
Then, check your sleep and comfort items. Make sure you have a sleeping bag liner (usually required in alpine huts), a camp pillow or an inflatable option, and a quick-drying microfiber towel.
After that, inspect your safety and navigation gear. Test your head torch with spare batteries, check that your trekking poles (like Black Diamond) are secure, and keep your compass and paper map safe in a waterproof sleeve.
Finally, review your hydration and nutrition supplies. Pack a Hydrapak water bladder, along with a water filter or purification tablets, and include some electrolyte tablets. Also, be sure to pack your toothbrush, toothpaste, and travel-size toiletries for personal care.
Route Planning & Navigation Protocols in Your Hut-to-Hut Safety Checklist
Plan your route carefully using both modern tech and classic maps. We trust mapping apps like Alpenverein maps, Outdooractive, or Komoot, but it’s smart to prepare for any situation. Download offline topo maps (which show hills and valleys) so your phone can guide you even when the signal is weak. Aim to cover about 10–15 km (6–9 miles) and gain 500–800 m (1,600–2,600 ft) each day, but remember that bad weather might slow you down. Always bring along printed copies of key route sections just in case your devices fail.
Digital Mapping Tools
Use your smartphone in battery-saving mode to make power last through long days. Activate offline map caches so you can see your route even without internet access. Bring a powerbank and use your device wisely to avoid sudden power loss. Check your route often on the app and adjust if you spot unexpected markers or detours. This practice builds your confidence when the trail gets tricky.
Traditional Map & Compass
Pack a detailed paper map at a scale of 1:25,000 or 1:50,000 so you can easily pinpoint your location. Use a compass to check your bearings and compare them with your digital route. A quick check with the compass helps you stay on track when trail signs are hard to see.
Signage & Pathway Markers
At each junction, take a moment to verify trail markers. Watch for color codes and symbols, and check them against your map's legend at least twice during each stage. This simple step helps you follow the correct path and spot any hazards in time.
Emergency Preparedness & Contact Verification in Hut-to-Hut Safety Checklist
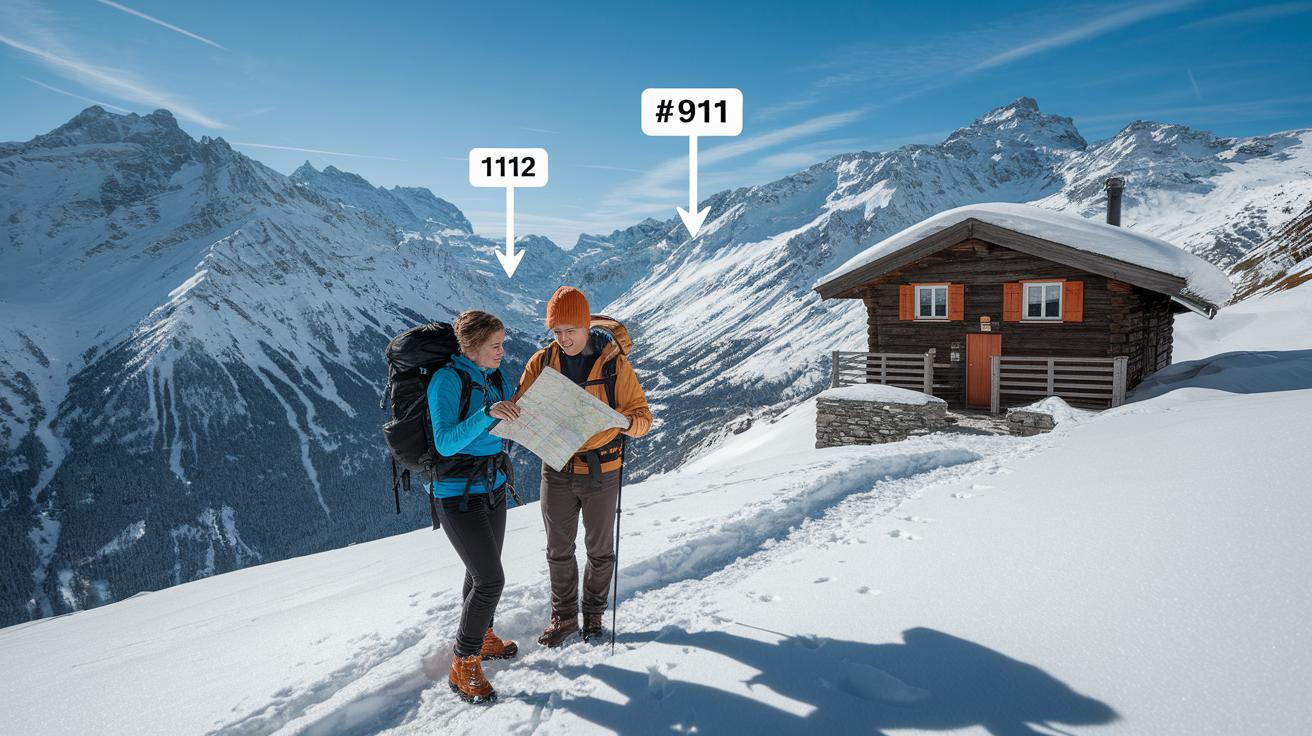
Before leaving, add the local rescue numbers (112 in the EU or 911 in North America) to your phone and carry a printed copy. Having them handy may be crucial if an unexpected situation occurs.
Next, check your Personal Locator Beacon. Test it to make sure it sends a clear signal and pack extra batteries. A quick test now can help avoid big issues later.
If there's any risk of avalanches, read the daily bulletin first thing in the morning. Pack your avalanche transceiver (a device to locate you in an avalanche), shovel, and probe. This extra step keeps you ready if snow instability becomes a risk.
When you reach a hut and before you leave, sign the logbooks. This habit helps hut staff and local authorities know if someone might need help. Ask the hut team about their incident reporting steps and note the closest evacuation routes on your map.
Before each part of your journey, double-check your emergency contact plans. Here's a quick list:
- Program rescue numbers and carry a printed copy
- Test your Personal Locator Beacon and bring spare batteries
- Check avalanche bulletins and inspect your avalanche gear
- Sign hut logbooks and learn the incident reporting steps
Staying prepared makes your hut-to-hut trip safe and enjoyable.
Weather Impact Analysis & Terrain Risks for Hut-to-Hut Safety Checklist
Always check trusted weather forecasts twice a day. This helps you catch early hints of afternoon showers, strong winds, or a sudden drop in temperature. Mountain weather can flip in a heartbeat. A quick gust or clouds darkening overhead might mean a storm is on its way. In that case, slow down and grab a waterproof rain jacket.
Mountain Weather Forecasting
Watch how the air pressure changes. Shifts in pressure are like little warnings for coming weather. If you see alerts for thunderstorms or high winds, be careful on the trail. When low pressure rules the sky, take extra care on open ridges and narrow passes. This is your cue to take a break or change your route.
Snow & Ice Hazard Monitoring
Check the snow every day. Look at snowfields for any dangerous overhangs (cornices) and follow local avalanche danger scales to plan your timing. Keep an eye out for icy spots or firm, hard snow that could be risky. If local bulletins warn about increased hazards, consider pausing your climb or picking another path.
Altitude Acclimation Tips
When hiking above 2,500 m, try to keep your climb to only 300–500 m each night. Take regular rest stops and aim to drink around 3 L of water daily. Watch for signs of altitude sickness and step back if you feel unwell.
Hut Facilities Evaluation & On-Site Safety Checklist Measures

When you arrive, check your hut right away. Confirm that your reservation is in place and note any occupancy limits. The hut can get busy from late June to early October, with July and August being the peak months. Make sure you can see the emergency exit signs and that doors are unlocked in case an evacuation is needed.
Check the common areas to see if cleanliness is a top priority. Look for signs that the toilets are cleaned regularly and hand-wash stations are stocked with soap. Ask the staff if the water is safe to drink or if a water filter is available. When in doubt, use a trusted water filter.
Next, inspect the hut’s fire safety. Look for fire extinguishers and confirm that the smoke detectors are working. If the hut has a wood stove or fireplace, read the posted instructions carefully. This check is extra important during winter or cooler evenings.
Then, test the lighting in the sleeping areas and common spaces. See if backup lamps or a generator is available when the main lighting fails. Walk through the corridors to ensure every area is well lit at night, which is key for safe movement.
Below is a brief table of on-site checks to keep you safe:
| Check Type | Description | Frequency |
|---|---|---|
| Egress Routes | Clear exits, unlocked doors | Upon arrival |
| Fire Equipment | Extinguishers, detectors | Daily |
| Sanitation | Toilets and hand-wash stations | Daily |
| Water Supply | Safe source or filter | Each refill |
| Lighting | Working lamps and backups | Nightly |
Communication Systems & Group Protocols in Hut-to-Hut Safety Checklist
Before you set out, check all your communication gear. Test your radios, mobile phones, and satellite phones to make sure they are fully charged. Also, update your coverage maps so you know where you’ll have a signal. This simple step helps you avoid delays on the trail.
Pick a clear meeting spot at the start and end of each stage. Every morning, remind everyone where to regroup if someone loses contact. Use easy-to-see markers or natural landmarks like a big rock or a prominent tree.
Choose a group leader to keep things moving safely. They should do headcounts and watch the devices as evening comes on. This way, the leader can spot when light fades and help the group adjust plans.
Set up quick check-ins with each other. Agree to pause every 60 to 90 minutes for a brief headcount and to make sure everyone is within hearing range. Plan for swapping powerbanks and saving battery life during midday breaks. These steps keep you all connected and on track throughout your route.
Final Words
In the action – we've outlined a practical hut-to-hut safety checklist. We reviewed gear checks, route planning, emergency contacts, weather analysis, and hut inspections to keep your trek steady and safe. Each step builds a plan that helps you tackle the trail with clear guidance and confidence. Your complete hut-to-hut safety checklist supports mindful preparation so you can enjoy the mountain views worry-free. Stay prepared and keep moving safely out on the trail.
FAQ
Frequently Asked Questions
Hut to hut safety checklist pdf
The hut-to-hut safety checklist PDF provides an all-in-one guide that details pre-departure planning, gear inspection, emergency contacts, and navigation tips to help you plan a safe mountain trek.
Hut-to-hut packing list
The hut-to-hut packing list covers all key items from layered clothing and sturdy footwear to navigation tools, hydration systems, and essential first aid supplies, ensuring you stay comfortable and safe.
Best backpack for hut-to-hut hiking
The best backpack for hut-to-hut hiking features a lightweight yet durable design with adjustable straps, enough space for essential gear including a hydration system, and a capacity that suits multi-day treks.
Alps hut to hut packing list
The Alps hut-to-hut packing list focuses on gear for variable mountain conditions. It includes layered clothing for temperature changes, reliable hiking boots, navigation devices, hydration tools, and compact emergency gear.
Hut to hut hiking Switzerland
Hut-to-hut hiking in Switzerland calls for detailed route and weather planning, along with proper gear checks. Make sure to verify hut availability, pack layered clothing, and include emergency contacts and navigation aids.
10 essentials for backpacking
The 10 essentials for backpacking include a reliable map and compass, headlamp, first aid kit, layered clothing, sturdy footwear, water supply, food, multi-tool, emergency shelter, and a fully charged communication device.
What size backpack for Alta Via 1
The recommended backpack for Alta Via 1 is typically around 40-50 liters, providing enough storage for daily essentials such as layered clothing, food, navigation tools, and a bit of extra safety gear while keeping the load comfortable.
Hut to hut hiking backpack size
The ideal hut-to-hut hiking backpack size generally falls between 35 and 50 liters, offering sufficient space for essential gear like clothing, food, navigation devices, and emergency supplies without being overly bulky.