

Ever wondered how a quick weather check can change your trip? Mountain weather can change fast. A glance at the forecast might be the key between a fun hike and an unexpected challenge.
In this guide, we explain how to read mountain weather. Think of it like following a map that shows past trends, current conditions, and what the forecast holds. With these simple steps, you can plan ahead, make smart choices, and stay safe when nature surprises you.
How to Read a Mountain Weather Briefing
When you plan a mountain trip, reading the weather briefing is like checking a map of nature’s mood swings. Mountain weather starts in the troposphere (the lowest air layer) and can change fast, sometimes in minutes, sometimes over days. The briefing covers three key parts: what happened before (historical data), what is happening now (current observations), and what might happen next (forecasts). Comparing these helps you get a clear picture of what to expect.
Begin by looking at past weather records, like how much the temperature has changed and snowfall amounts. This shows you the normal patterns and helps you spot any odd changes. Then check current data such as wind speed, rain chances, and temperature trends. Keep in mind that the temperature tends to drop about 10°C per 1,000 m climbed. High winds or heavy rains can mean unsafe conditions if they are above normal levels.
The lay of the land also plays a big role. When wind hits a slope, it is pushed upward, a process called orographic lift, which can create small weather zones. That means you might find chilly valleys or windy ridges even when nearby areas seem calm. Always check for avalanche warnings too, because even small weather shifts could signal extra danger.
Following this step-by-step approach helps you spot changes quickly. By understanding the past, present, and forecast, you can adjust your plans on the fly and keep safe on your mountain adventure.
Step 1: Gathering Historical and Forecast Data for Mountain Briefings
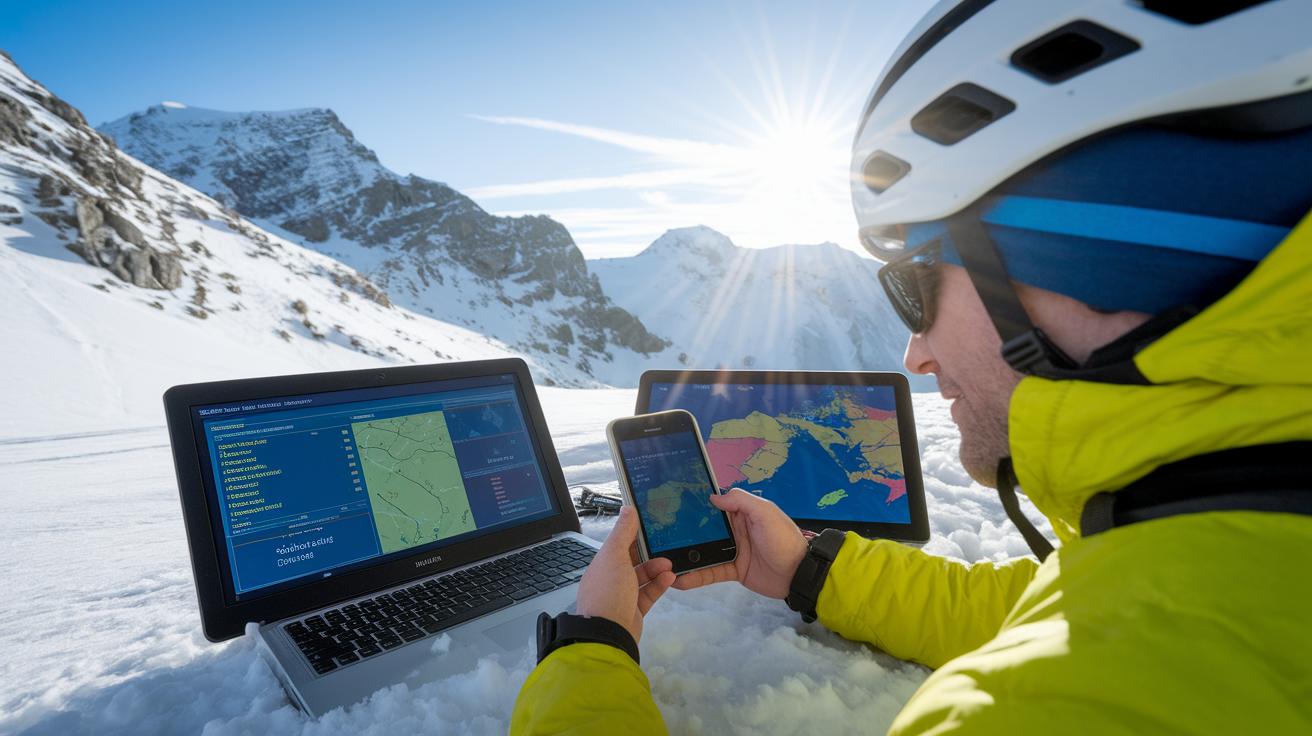
Mountain weather can change in a flash. That’s why it’s a good idea to check many sources. Look at past trends like temperature swings and snowfall totals so you can see what happened before and what might happen next. Use different data, from satellite images to local weather posts, to catch any warning signs early and adjust your plan if needed.
- National Weather Service (NWS) forecast bulletins
- GOES satellite imagery portals
- NEXRAD radar precipitation maps
- Regional avalanche center reports
- Local mountaineering forum weather threads
Mixing these sources builds trust in the forecast. When you compare past patterns with live satellite and radar data, and add feedback from avalanche and local climbing reports, you get a clearer picture. This approach helps you spot trends, follow storm systems, and check snow stability. With more angles to view the data, your plan becomes more solid and easier to adjust for safe travels.
Step 2: Deciphering Meteorological Symbols and Abbreviations
When you check a mountain weather briefing, you'll see coded symbols that give you a quick look at what to expect. These marks show wind, rain, and snow chances in a flash. For example, L/H means low or high pressure centers are present. That clue can hint at rough weather ahead. Wind arrows point the way, and their extra marks (barbs) tell you how strong the wind is. Icons like • mean rain is likely, while * signals that snow might fall. A lightning bolt (⚡) warns you of potential thunderstorms. Abbreviations such as T°C for temperature, RH for relative humidity (how much moisture is in the air), and Pcpn for precipitation (rain or snow) offer details at a glance.
Take a moment to learn each icon on your weather briefing. Compare a few symbols together so you get a clear picture of the conditions. This helps you decide if you need extra gear or a plan change.
| Symbol/Abbreviation | Meaning |
|---|---|
| L / H | Low / High Pressure Center |
| ↑ / ↓ | Wind Direction Arrow (barbs show speed) |
| • / * | Rain / Snow Precipitation |
By learning these simple clues, you can spot changes in the weather early and make safer, smarter decisions on your mountain journey.
Step 3: Interpreting Key Weather Parameters , Temperature, Wind, and Precipitation Trends
Temperature Analysis
Start by checking the hourly temperature curves on your chart. As you climb, the air cools down quickly, about 10°C for every 1,000 m (3,280 ft) you climb. For example, if it's 12°C at the start, expect near 2°C at the top. Knowing this helps you decide when to add a warmer layer. It keeps you ready for the cold higher up and helps plan your gear.
Wind Assessment
Wind can make the cold even colder. Look at the wind barbs on your weather chart. One full barb means about 10 knots of wind. If you see gusts above 20 mph (32 km/h), the chill increases and the risk of hypothermia grows. Simple wind-chill formulas can show you how cold it will feel on open spots. Clusters of barbs point out sections where the wind picks up, so mark those spots for extra care.
Precipitation Trends
Next, check the PoP (probability of precipitation) percentages. If it’s over 40%, showers or snow are likely. Look at how much snow might fall because heavy accumulation can increase avalanche risks. Also, note that thunderstorms often hit between 12:00 and 16:00. These hints help you choose the best start time and pack the right gear like rain jackets and extra layers for staying dry and warm.
Step 4: Recognizing Hazard Indicators and Safety Warnings in Mountain Weather Briefings
Mountain weather briefings use hazard indicators as your early warning system for changing conditions. They come in the form of watch-warning-advisory codes that tell you what might happen next. For example, a Warning means conditions are already unsafe, while a Watch means you should be cautious because the weather might turn worse.
Key alerts in these briefings include:
- Avalanche Forecast Levels: Rated from 1 to 5, a higher number means there's a higher chance of unstable snow due to recent snowfall and wind.
- Thunderstorm Warnings: Look out for fast-forming storms with lightning, heavy rain, and gusts that can snap branches.
- High Wind Advisories: These are issued when winds stay above 30 mph and gusts top 45 mph. Such winds can intensify the chill and increase the risk of hypothermia.
- Winter Storm Warnings: These warn of heavy snow and blowing conditions that might cover the trail.
When you see these codes on your briefing, it's a sign to rethink your plans. You may need to change routes, adjust your gear, or update your emergency plans. Always cross-check multiple reports and use trusted sources like the hiking safety tips at hike2hut.com?p=177 to confirm what you see. Understanding these alerts helps you adapt quickly and keep your mountain journey safe.
Applying the Guide: Practical Examples of Reading a Mountain Weather Briefing

Here’s a simple 24-hour mountain weather briefing example to help you start understanding the forecast. The chart shows key details: a high-pressure area marked "H" at 1,020 hPa to the east and a low-pressure area labeled "L" at 995 hPa to the west. This tells you weather systems are shifting. Wind arrows point to 25 mph gusts from the south, and the PoP (chance of rain) is 60%, meaning there's a fair chance of thunderstorms in the afternoon. The temperature drops from 12 °C at the base to 2 °C at the summit, following roughly a 10 °C drop per 1,000 m. An Avalanche Bulletin with a Level 3 rating (Considerable risk) warns that north slopes may be unstable due to snow.
Use these steps to break down the briefing:
- Check the pressure symbols. Look for "H" and "L" to see which weather systems are coming.
- Look at the wind arrows. A 25 mph gust means you might feel extra chill in the open.
- Note the temperature change. With 12 °C at the base dropping to 2 °C at the top, plan to add warm layers as you climb.
- See the PoP number. A 60% chance of rain means there’s a small window for safe travel.
- Consider the avalanche bulletin. A Level 3 warning suggests that choosing lower-angle routes on the north side is safer.
This guide mixes past weather trends with live data and forecast shifts. It helps you decide the best time to depart (before 10 AM when conditions are calmer), pack extra warm clothes, and choose routes that reduce avalanche risk. With these pointers, each piece of the briefing works together for a safe and well-prepared mountain trip.
Final Words
In the action, we broke down how to read mountain weather briefings. We covered historical data, current conditions, and forecast trends. Small icons and numbers became clear stepping stones to better safety plans. We also looked at key hazard codes and how they shape decisions out on the trail.
This step-by-step guide to reading mountain weather briefings gives you the confidence to check conditions and stay safe. Enjoy your trip and respect the mountain environment.
FAQ
How do I interpret a mountain weather briefing?
The mountain weather briefing mixes historical data, current conditions, and future forecasts. It gives you a clear picture of past trends, live observations, and predicted shifts to help plan a safe trip.
What are the key components in a mountain weather briefing?
The mountain weather briefing covers three main parts: past weather patterns, present observations, and upcoming forecasts. This mix lets you see changes in temperature, wind, and precipitation to adjust your plans.
How can I decode meteorological symbols and abbreviations on mountain weather reports?
The mountain weather report uses symbols like L/H for pressure centers, arrows for wind direction, and simple icons for rain and snow. This method helps you quickly read charts and alerts.
What should I look for in the temperature, wind, and precipitation details?
The mountain weather details show temperature graphs with lapse rates, wind barb speeds, and precipitation probabilities. Reading these indicators helps you decide on insulation, timing, and route safety.
How can I recognize hazard indicators and safety warnings in a mountain weather briefing?
The mountain weather briefing flags dangers like avalanche risks, thunderstorms, and high wind alerts. Spotting these signals lets you adjust your gear, timing, or route to maintain safety.